Counseling Appointment Booking Instructions
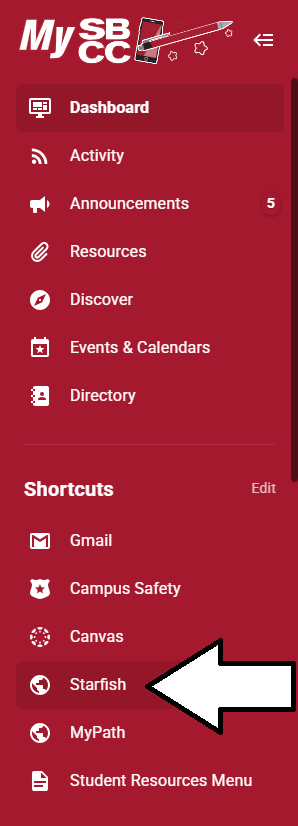
Log into your campus portal account and click the 'Starfish' link in the 'Shortcuts' section of the navigation menu.
Go to 'My Success Network' by clicking the three horizontal lines in the upper-left corner of Starfish and click on 'My Success Network.'

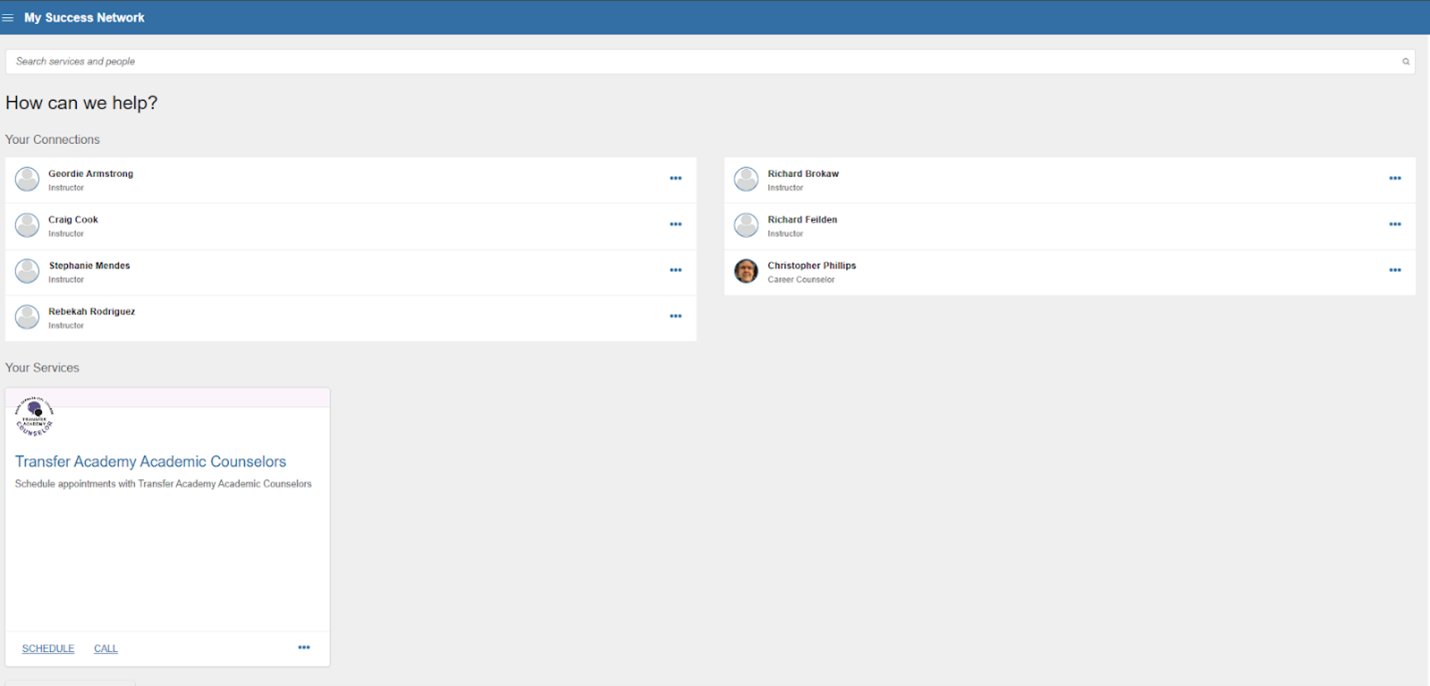
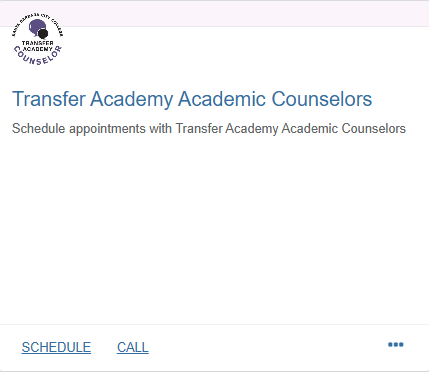
In the "Your Services" section, you'll find the option to schedule an appointment with a Transfer Academy Counselor. Simply click the scheduling option located in the upper left corner.
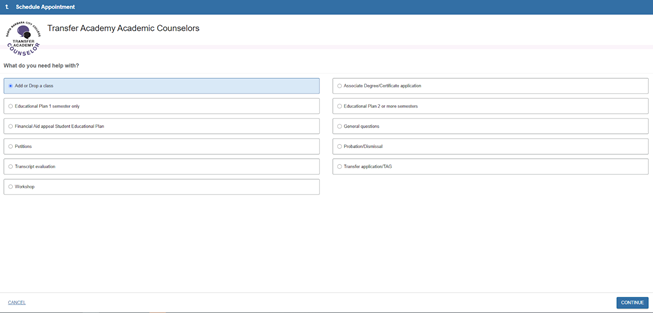
Please choose the most appropriate reason for your appointment, then click Continue.
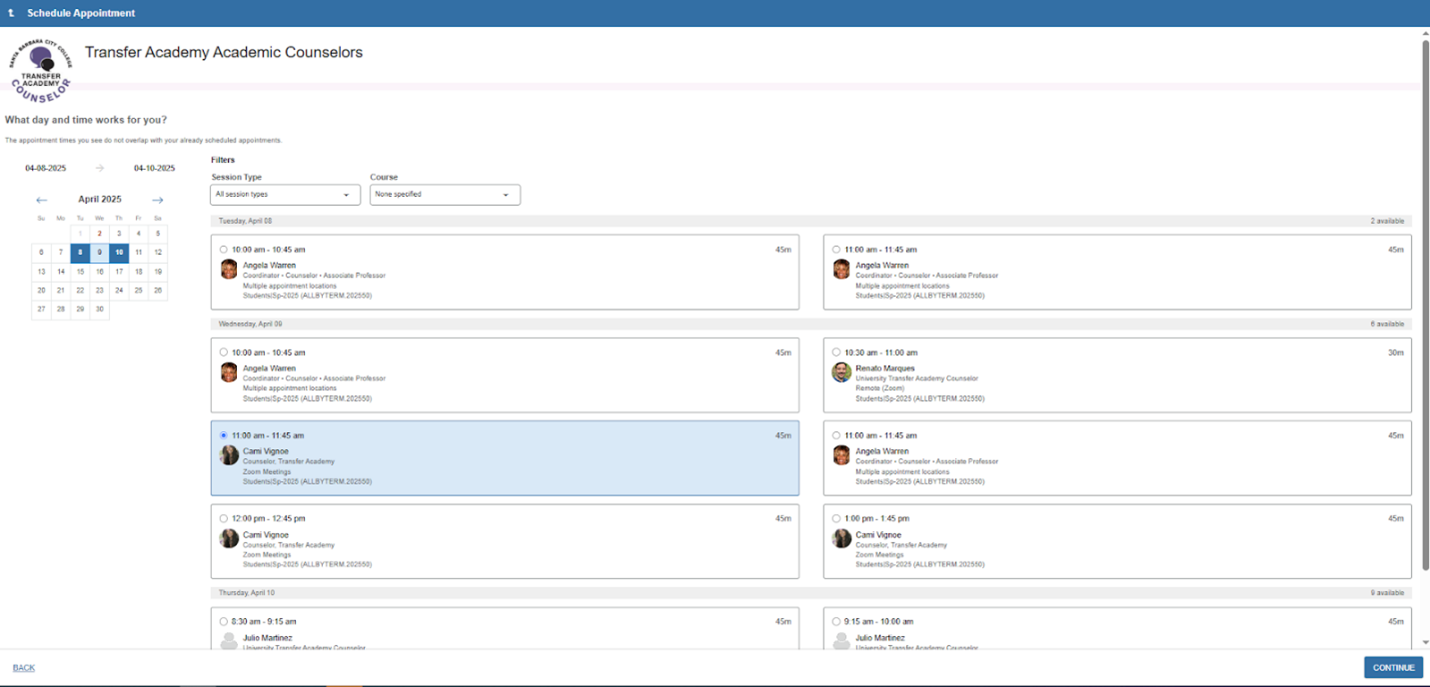
From the available options, choose the counselor, time, and date that work best for you. Additional options will display if you adjust the date range on the calendar on the left side of the page. Click 'Continue' in the bottom right corner.
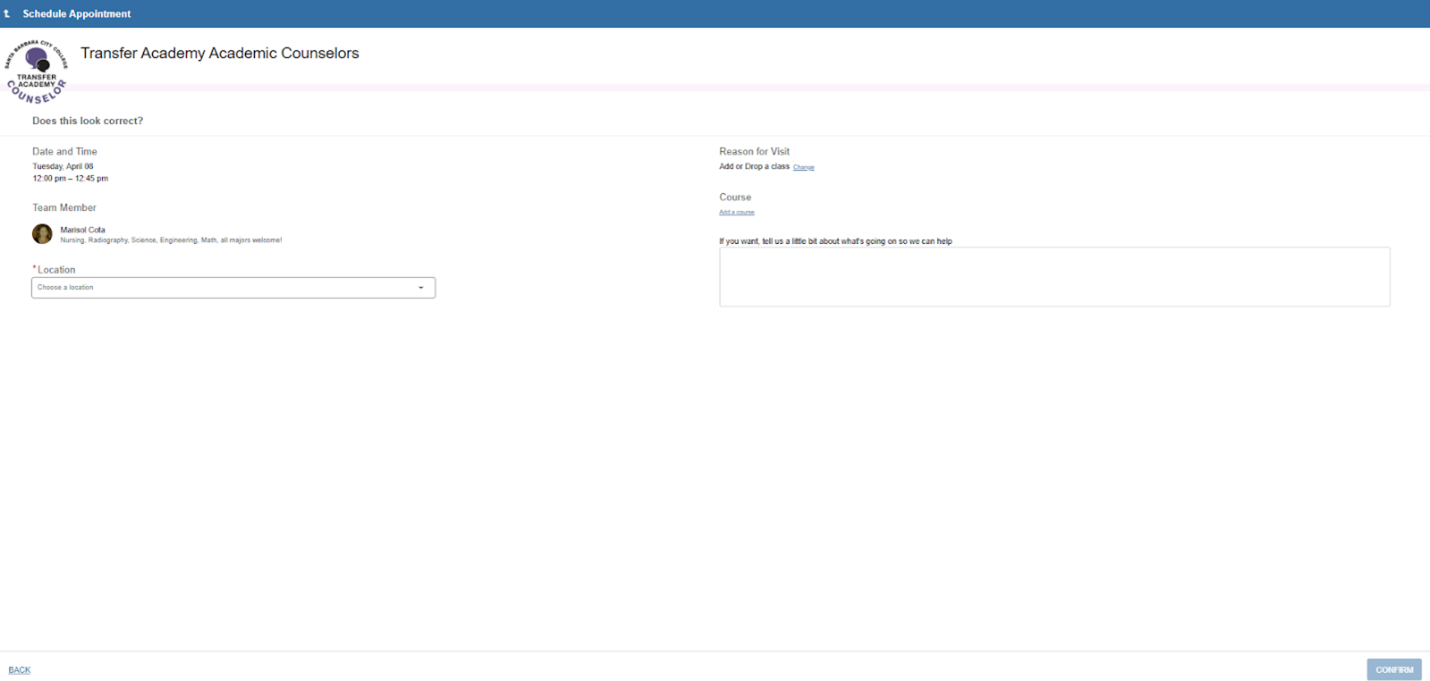
Review the appointment details, including time, date, location, and reason. Be sure to enter as much detail as possible in the optional comment box to help your advisor prepare for the appointment. Click 'Confirm' in the bottom right and be on the lookout for a confirmation email that will be sent to your campus email address.
